How to Set Up and Register a Desktop Runtime Machine with Power Automate Cloud Orchestrator
- Sivakumar K
- Dec 27, 2025
- 4 min read


Power Automate Desktop (PAD) enables you to run Robotic Process Automation (RPA) flows on Windows machines. To allow Power Automate Cloud to trigger and manage these desktop flows, you must register your machine as a runtime machine with the cloud orchestrator. This blog walks you through why registration is required and how to set it up step by step.
Why Registering a Desktop Runtime Machine ?
Registering a desktop machine connects your local Windows system with Power Automate Cloud, enabling centralized control and automation.
Allows cloud flows to trigger desktop flows
✅ Enables unattended automation (no user interaction required)
✅ Centralized machine management and monitoring
✅ Supports scalability using Machine Groups
✅ Improves security and governance for RPA executions
In short, without machine registration, desktop flows cannot be orchestrated from the cloud.
Below are the basic prerequisites. Please ensure these are considered before you begin
✅ Windows 10 / 11 or Windows Server
✅ Power Automate Desktop installed
✅ Work or School Microsoft account
✅ Required Power Automate licensing (Attended / Unattended RPA)
✅ Stable internet connectivity
✅ Admin access on the machine (recommended)
Step 1: Download Power Automate Desktop
Sign in to Power Automate Cloud and navigate to My Flows. In the top-right corner, click the Install button and download Power Automate Desktop.
Once downloaded, move the setup file to the machine you plan to register with Power Automate Cloud. This machine will act as your RPA bot (runtime) machine.
Refer to the screenshot below for guidance on where to download Power Automate Desktop.

Step 2: Install Power Automate Desktop
Double-click the Power Automate Desktop setup file, click Next,

and on the Installation details screen you’ll see several options. Below is a clear explanation of what each option is used for and when you should enable it.
Option | Purpose | When to Enable |
Install the Power Automate for desktop to build desktop flows | Installs the Power Automate Desktop designer used to create, edit, record, and debug desktop flows. | Enable if this machine will be used for developing or modifying desktop flows. Optional for runtime-only bot machines. |
Install the machine-runtime app to connect to the Power Automate cloud portal | Connects the machine to Power Automate Cloud and allows cloud flows to trigger desktop flows. | Mandatory for any machine acting as an RPA runtime / bot machine. |
Install files for enabling UI automation in Java applets | Enables UI automation capabilities for Java-based desktop applications. | Enable only if your automation interacts with Java applications. |
Enable Picture-in-Picture (PiP) mode to run attended desktop flows in the background | Runs attended desktop flows in a separate Windows session without interrupting the user. | Recommended for attended automation scenarios. Not required for unattended bots. |
Required data collection | Collects diagnostic and usage data required for product stability, security, and troubleshooting. | Mandatory – Power Automate Desktop will not function without this enabled. |
Microsoft Terms of Use & Privacy Statement | Confirms acceptance of Microsoft licensing and privacy policies. | Required to proceed with the installation. |
Best Practice Recommendation (RPA Bot Machine) | |
Machine Type | Recommended Options |
Development Machine | Desktop App + Machine Runtime |
Attended Bot | Desktop App + Machine Runtime + PiP |
Unattended Bot | Machine Runtime + Data Collection |
Java Automation Bot | Machine Runtime + Java UI Automation |
Choose the required options as per your needs and click Install to complete the installation process

Wait for the installation to be complete.

After successful Installation you'll the below screen and click on Launch app

Step 3: Register the Machine
After successfully installing Power Automate Desktop, the next step is to register the machine with Power Automate Cloud. This registration allows the cloud orchestrator to discover, manage, and trigger desktop flows on this machine.
Open Power Automate Desktop on the installed machine.
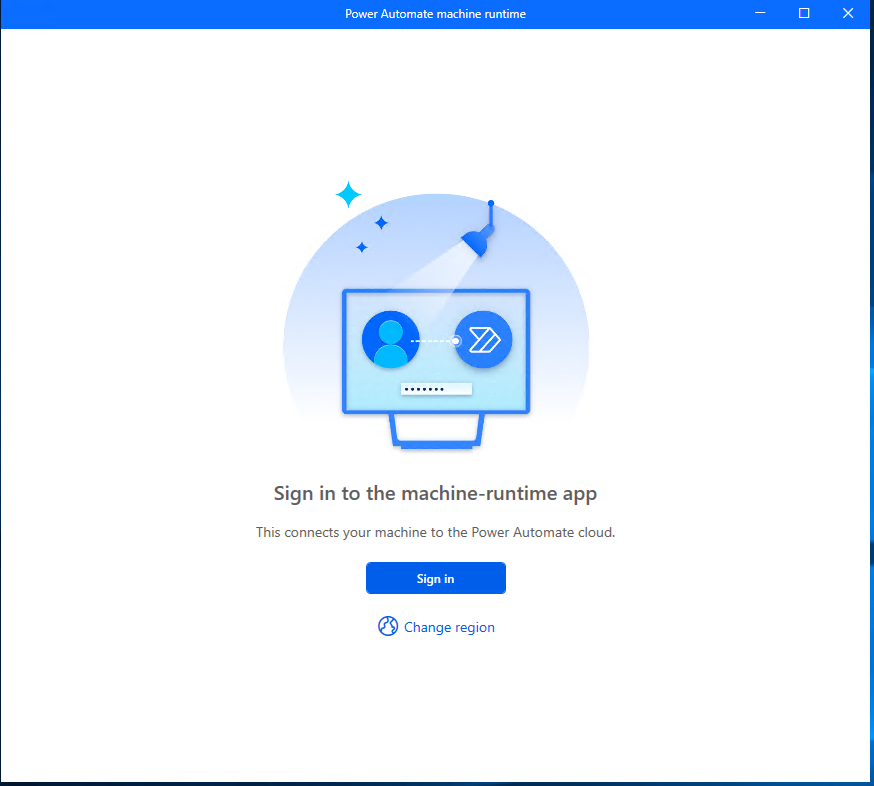
You'll see the below Sign in screen. Click on Sign in using your work or school Microsoft account.
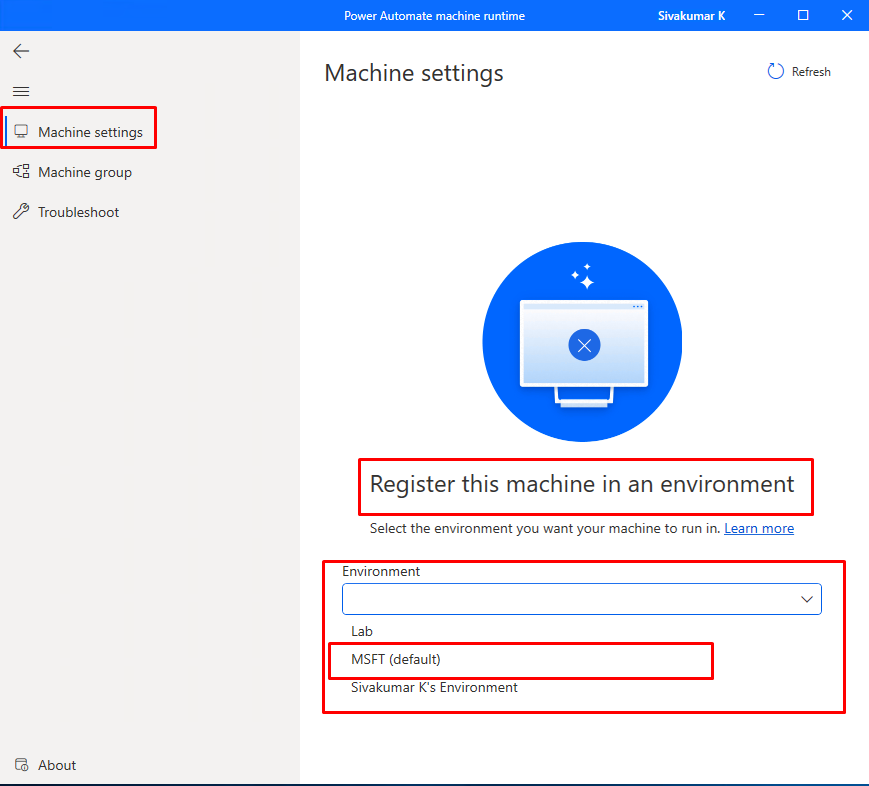
Upon successful login, you will see the screen shown below. By default, Machine settings is selected on the left-hand side.
If you do not see this screen, click Machine settings from the left menu, and the same page will appear. On this screen, you will find the option Register this machine to an environment.
Click the Environment dropdown button to view all available environments, and select the environment as per your requirement.
Upon selection, the Power Automate registration process will begin

Once the registration is complete, you will see a successful machine registration message. The screen will display the machine name and the environment to which the machine is registered, as shown in the screen below.
This completes the installation and machine registration process successfully.

Now, log in to the Power Automate Cloud portal. From the left navigation menu, look for Machines. If it is not visible, click More and then select Machines.
Once you open the Machines section, you will see the machine that you registered with the cloud portal. Make sure you are working in the same environment that you selected during the machine registration process.
Here, you can view the machine details, as shown in the below image.


Comments