Power Platform Virtual Tables: Unlock External Data Without Data Duplication
- Sivakumar K
- Feb 23
- 4 min read


Virtual Tables in Microsoft Power Platform allow you to access external data in Dataverse without physically storing it inside Dataverse. Instead of copying or syncing data, Virtual Tables create a real-time connection to external systems such as SQL Server, SharePoint, Azure, or other APIs.
They behave like standard Dataverse tables inside Model-Driven Apps — supporting forms, views, security roles, and relationships — but the data remains in the source system.
This makes Virtual Tables extremely powerful for organizations that want centralized app experiences without increasing storage costs or duplicating enterprise data.
They are ideal for hybrid architectures where Dataverse acts as the application layer while backend systems remain the system of record.
Key Use Cases of Virtual Tables
Exposing on-prem SQL Server data in Model-Driven Apps
Integrating legacy ERP systems without migration
Displaying SharePoint list data inside Dataverse apps
Showing external CRM or HR system data in Power Apps
Creating unified dashboards combining Dataverse + external data
Reducing data replication between systems
Building front-end apps over Azure-hosted APIs
Extending Dynamics 365 with external master data
Real-time read access to high-volume transactional systems
Benefits of Virtual Tables
No Data Duplication – Data stays in the source system
Reduced Dataverse Storage Costs
Real-Time Data Access
Simplified Architecture – No need for complex sync flows
Improved Data Governance – Single source of truth
Faster Implementation – No migration required
Supports Security Roles (respects Dataverse security model)
Lower License Impact when compared to storing high-volume data in Dataverse
Ideal for Read-Heavy Scenarios
Enterprise-Ready Integration Approach
How to configure the Virtual Tables In this article, we’ll walk through a step-by-step process to configure Virtual Tables in Microsoft Power Platform.
In this section, we will configure a Virtual Table in Dataverse using SharePoint Online as the external data source.
Instead of importing SharePoint list data into Dataverse, we will create a real-time connection so the data is displayed inside a Model-Driven App without duplication.
In this demonstration, we will use an existing Lead Management solution built in SharePoint Online and configure the Leads list as a Virtual Table in Dataverse.

Step 1: Understand the Prerequisites
You have a Dataverse environment
You have System Administrator access
The external data source is accessible (SQL, SharePoint, API, etc.)- In this case i am choosing the SharePoint Online
Proper authentication is configured
Required licenses (Dataverse + Premium connector )
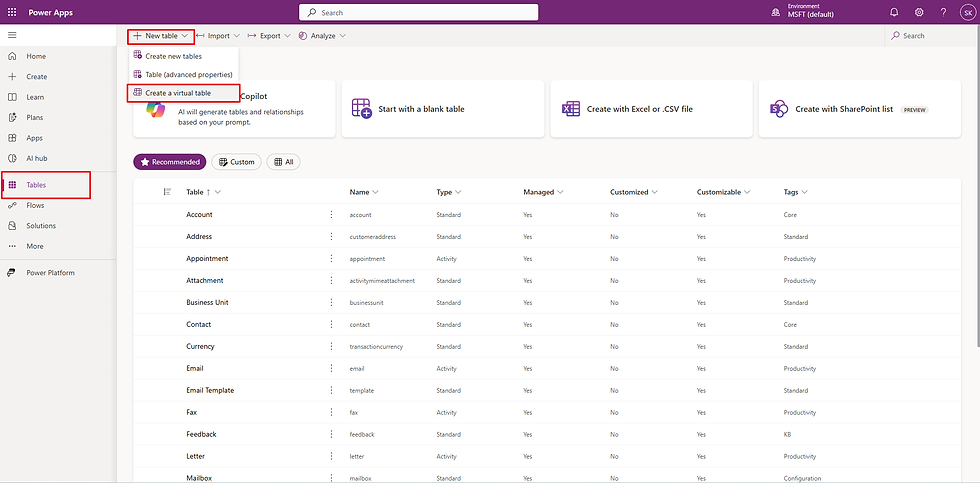
Create Virtual Table from Tables Section
Log in to make.powerapps.com
Select your correct environment
From the left navigation, click on Tables
On the top menu, click + New table
Select Create virtual table
Choose the connection from the list, Select the SharePoint and click on Next

Copy the SharePoint site URL (as shown in the next step of this guide) and paste it into the URL field.
If you are already authenticated:
The system will display a list of available SharePoint sites.
You can simply select the required site from the list.
You also have the option to search for the site using the search bar.
Once the correct SharePoint site is selected, proceed to the next step to choose the list (Leads) that you want to configure as a Virtual Table.


Choose the List from the below and click on next

Here, you can review and modify the following:
Display Name – The name that users will see in the app
Plural Name – (if applicable) for views and navigation
Primary Field – The main column used as the record name (e.g., Lead Name / Title)
Schema Name – The internal logical name used by Dataverse
💡 It’s recommended to keep the schema name clean and aligned with your solution naming standards.

In the final step, you will see the Review and Finish screen.
This page provides a summary of:
Selected SharePoint site
Selected list (Leads)
Field mappings
Primary key and primary name configuration
Table details
Carefully review all the configurations.
If you notice any mistakes or need to make corrections:
👉 Click Back to modify the settings.
If everything looks correct:
👉 Click Finish to complete the Virtual Table creation.
Once completed:
The Virtual Table will be created
Publish the table
Add it to your Model-Driven App for testing

Once you click Finish, the Virtual Table will be successfully created.
To verify and locate the table:
Option 1: Search by Table Name
Go to Tables in Power Apps.
Use the search bar (top right corner).
Enter the table name (for example, Leads).
The Virtual Table will appear in the results.
Option 2: Filter by Table Type
Navigate to Tables.
Click on the Type filter.
Select Virtual.
This will display all Virtual Tables available in the environment.

Now that the Virtual Table is created, it is ready to be used inside:
Model-Driven Apps (Dataverse apps)
Canvas Apps
The most important thing to understand:
The data shown in the app is live data from SharePoint, accessed through the Virtual Table.
There is no data stored inside Dataverse — it is fetched in real time from the external system.


Comments